Things to Do in Margaret River: The Ultimate Guide to Attractions, Activities & Travel Tips (2026)
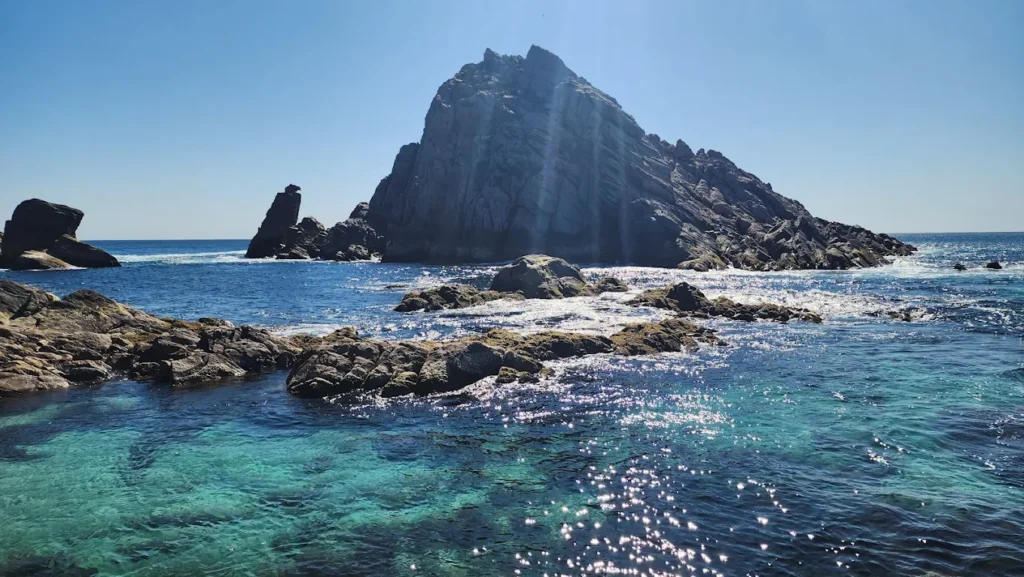
Picture this: You’re standing on a limestone cliff 270 kilometers south of Perth, watching world-class surfers carve through crystal-clear Indian Ocean waves while vineyards stretch behind you into ancient karri forests. This isn’t a dream—it’s Margaret River, and in 2026, it’s calling your name with more incredible experiences than ever before. As someone who’s been managing tours in Australia’s South West for 20 years, I can tell you that things to do in Margaret River extend far beyond the postcard-perfect scenery. From exploring 100+ underground limestone caves formed over 1 million years ago to tasting world-renowned wines at 90+ cellar doors, this region delivers the perfect blend of adventure, luxury, and natural wonder. Whether you’re planning to walk the legendary 135-kilometer Cape to Cape Track, dive into ancient caves like Lake Cave and Mammoth Cave, or simply sip Chardonnay while watching the sunset over Sugarloaf Rock, Margaret River offers something extraordinary for every traveler. Things to Do in Margaret River include exploring 90+ world-class wineries, surfing at legendary breaks like Prevelly Beach, discovering ancient limestone caves (Lake Cave, Mammoth Cave, Jewel Cave), hiking the 135km Cape to Cape Track, visiting the Boranup Karri Forest, and experiencing Wadandi Aboriginal culture through guided tours. The region combines premium wine tasting, spectacular coastal scenery, adventure activities, and fresh gourmet produce into one unforgettable destination. This 2026 guide is backed by the latest information, current costs, hidden gems I’ve discovered while operating tours here, and insider secrets that’ll help you experience Margaret River like a local—not a tourist. 🍷 Why Is Margaret River So Famous? When people ask me what makes Margaret River special, I tell them about the “Triple Threat” that put this region on the world map. World-Class Wine That Rivals Bordeaux Margaret River produces less than 3% of Australia’s total wine output but accounts for over 20% of the country’s premium wine market. That’s incredible! The region’s 138+ wineries specialize in Cabernet Sauvignon and Chardonnay, with over 65 wineries rated 5-star by Halliday Wine Companion. In my experience managing wine tours, I’ve seen firsthand how the Mediterranean climate, ocean breezes from the Indian Ocean, and unique terracotta soils create perfect conditions for grape growing. Founding wineries like Vasse Felix (established 1967), Leeuwin Estate, and Cullen Wines (Australia’s first 100% carbon-neutral winery) set the standard. Today, boutique producers like Passel Estate, Victory Point, and Cape Naturaliste Vineyard offer intimate tastings where you’ll often meet the winemakers themselves. Legendary Surf That Draws World Champions Before Margaret River became famous for wine, surfers discovered its 75+ world-class breaks spanning 130 kilometers of coastline. The Margaret River Pro (held annually in April/May) attracts top World Surf League competitors to Surfers Point (Main Break) in Prevelly—one of the most challenging waves in competitive surfing. Popular breaks include: Ancient Caves Holding Earth’s Secrets Beneath the Leeuwin-Naturaliste Ridge lie over 150 limestone caves formed approximately 1 million years ago. Four spectacular “show caves” are open to the public: Indigenous Wadandi Culture & Deep Connection to Country For over 60,000 years, the Wadandi (Saltwater) people have been the traditional custodians of this land, known as Wadandi Boodja. Their cultural knowledge runs incredibly deep, with six seasonal calendars (Birak, Bunuru, Djeran, Makuru, Djilba, and Kambarang) still used today to live in harmony with the land. I highly recommend booking a Koomal Dreaming tour with Wadandi custodian Josh ‘Koomal’ Whiteland, who shares stories, traditional practices, and the significance of sites like Ngilgi Cave in Wadandi culture. These experiences add profound depth to your understanding of the region’s natural and cultural heritage. For more details: https://saltwaterbusselton.com.au/ 🌤️ Best Time to Visit Margaret River (2026 Seasonal Guide) Margaret River is beautiful year-round, but timing your visit right can save you money and help you avoid crowds. Here’s my breakdown based on 20 years of operating tours here: Season Months Temperature Crowd Level Price Range Best For What to Pack Summer (Peak) Dec–Mar 22°C–30°C (72°F–86°F) HIGH $$$$ Beach activities, swimming, festivals Sunscreen (SPF 30+), swimwear, hat, light clothing Autumn Apr–May 12°C–24°C (54°F–75°F) MEDIUM $$$ Wine tasting, Margaret River Pro surfing competition, harvest season Layers, light jacket, sunglasses Winter (Off-peak) Jun–Aug 8°C–18°C (46°F–64°F) LOW $$ Whale watching, cozy winery visits, best value Warm jacket, rain gear, hiking boots Spring (Ideal) Sep–Nov 9°C–24°C (48°F–75°F) MEDIUM $$$ Wildflowers, whale watching, perfect hiking weather Layers, rain jacket, camera, binoculars Pro Insider Tips: 2026 Special Events: 🚗 How Long Does It Take to Drive From Perth to Margaret River? The drive from Perth to Margaret River is one of Western Australia’s most scenic road trips—and one I’ve done countless times organizing tours. Distance: 270–280 kilometers (168–174 miles)Drive Time: 3–3.5 hours without stopsRoute: Take Kwinana Freeway → Forrest Highway → Bussell Highway into Margaret River The journey is straightforward on fully sealed roads, making it perfect for a long weekend getaway or the start of a longer South West adventure. 3 Must-Stop Spots on the Drive 🛑 From my experience managing transfers and tours, these three stops will break up your journey perfectly: 1. Busselton Jetty (2 hours 20 minutes from Perth)The longest timber-piled jetty in the Southern Hemisphere at 1.8 kilometers! Walk the jetty for free or take the train to the end ($14 adults, $7 children). The Underwater Observatory at the jetty’s end offers incredible views of marine life without getting wet ($35 adults, $17 children). 2. Bunbury Dolphin Discovery Centre (1.5 hours from Perth)Spot wild bottlenose dolphins from the beach or jetty. The Discovery Centre offers interactive exhibits ($15 adults, $8 children). If you’re lucky, dolphins swim right up to the shore! 3. Vineyard 28 in Yarloop (1.5 hours from Perth)A hidden gem! This boutique winery specializes in Italian grape varieties like Pignoletto, Arneis, Dolcetto, and Nebbiolo—rare finds in Western Australia. Perfect for a mid-journey wine tasting and grazing board. Bonus Stop: Lake Clifton Thrombolites—ancient living fossils lining the lake shore, resembling Earth’s earliest life forms. A fascinating 5-minute stop with a boardwalk for easy viewing. 🏖️ Top Things to Do in Margaret River, Western Australia